


Bespoke Media Unit Costs in South Kensington

What determines whether a media wall is straightforward to install or needs more time on site? The answer depends on its dimensions, cabinetry, finishes, lighting and integrated features. There isn’t one specification that suits every room.
It’s also useful to separate the installation itself from the wider project. A bespoke media wall installation typically takes two to five days, while the full project from design approval to completion typically takes four to eight weeks. Design detail, material availability and installation complexity all shape the schedule.
This guide explains how storage, cable management, finishes and technology influence the design, and what to consider when planning a media wall for your home. You’ll also see how a carefully resolved scheme can balance the television and sound equipment with the character of a South Kensington interior, so the finished cabinetry feels intentional rather than added as an afterthought.
Table of Contents
Planning a Bespoke Media Wall for Your Room
Start with a measured elevation of the room, including the wall’s full width and height. Record the skirting, cornice, door casings, windows and alcoves. These details establish the architectural lines the media wall must respect. In a period interior, for example, cabinetry might align with an existing chimney breast or sit clearly within an alcove. A room plan also shows how the proposed composition relates to adjoining spaces.
Define the media wall’s role in the room first. Should it recede into the background or become a prominent feature? That decision shapes the balance between open display, closed fronts and visible wall. A book collection might call for carefully arranged shelving; a quieter scheme may suit a more continuous elevation with fewer visual divisions.
Consider how the media wall meets each neighbouring surface. A doorway close to the wall can make the end panel particularly visible, while a deep window reveal may affect how the elevation reads from across the room. The design drawing should show these junctions, not just the central area. This makes it easier to resolve the edges and maintain a deliberate relationship with existing architectural details.
Scale matters beyond the feature wall itself. Compare the proposed composition with the sofa, occasional tables and other substantial furnishings. A broad run of cabinetry can feel dominant beside compact seating, while a narrow central feature may appear isolated against a generous wall. Marking the main furniture footprints on the plan helps assess these relationships before finalising the elevation.
Record architectural details that the joinery will meet.
Decide whether the feature should recede or command attention.
Compare the proposed scale with the room’s principal furniture.
Consider how the room is used beyond watching television. In a reception room that also serves as a place for reading or conversation, the wall should feel composed when the screen is off. Open display, framed artwork or a quieter central panel can shape that impression. The design should account for the room’s different uses rather than treating the television as its only focal point.
Agree on the key design decisions before detailing the elevation. Confirm the intended visual emphasis, the relationship to existing features and how the composition fits with the furniture. These choices give the drawings a clear purpose and help reduce late changes.
Materials, Finishes and Lighting
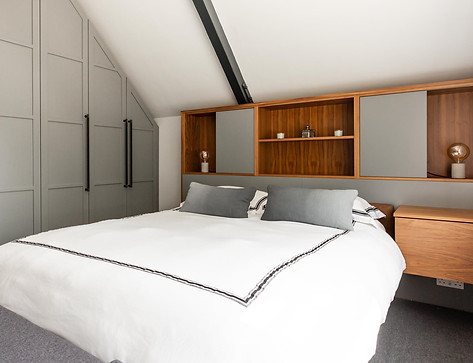
Choose materials by considering how the whole elevation will read, not just the television surround. A painted frame, timber veneer doors and a contrasting shelf can each define a separate layer. To keep the composition cohesive, decide which finish leads, then use the others selectively. For example, a restrained painted field can make a timber detail feel intentional rather than competing for attention.
Review finish samples against the actual room palette. Place them beside the flooring, wall colour and nearby fitted furniture, then view them in daylight and with the evening lighting on. A colour that seems balanced on a small sample may feel more dominant across a broad cabinet front. This comparison helps establish whether the media wall should blend with its surroundings or stand out as a feature.
Panelling and cladding need a clear relationship with cabinet fronts and open shelving. A panel joint that stops just short of a shelf can look accidental; aligning it with the shelf edge gives the elevation a stronger order. Measure the full composition before setting out these divisions. This lets you resolve panel widths, door lines and visible margins together in the drawings.
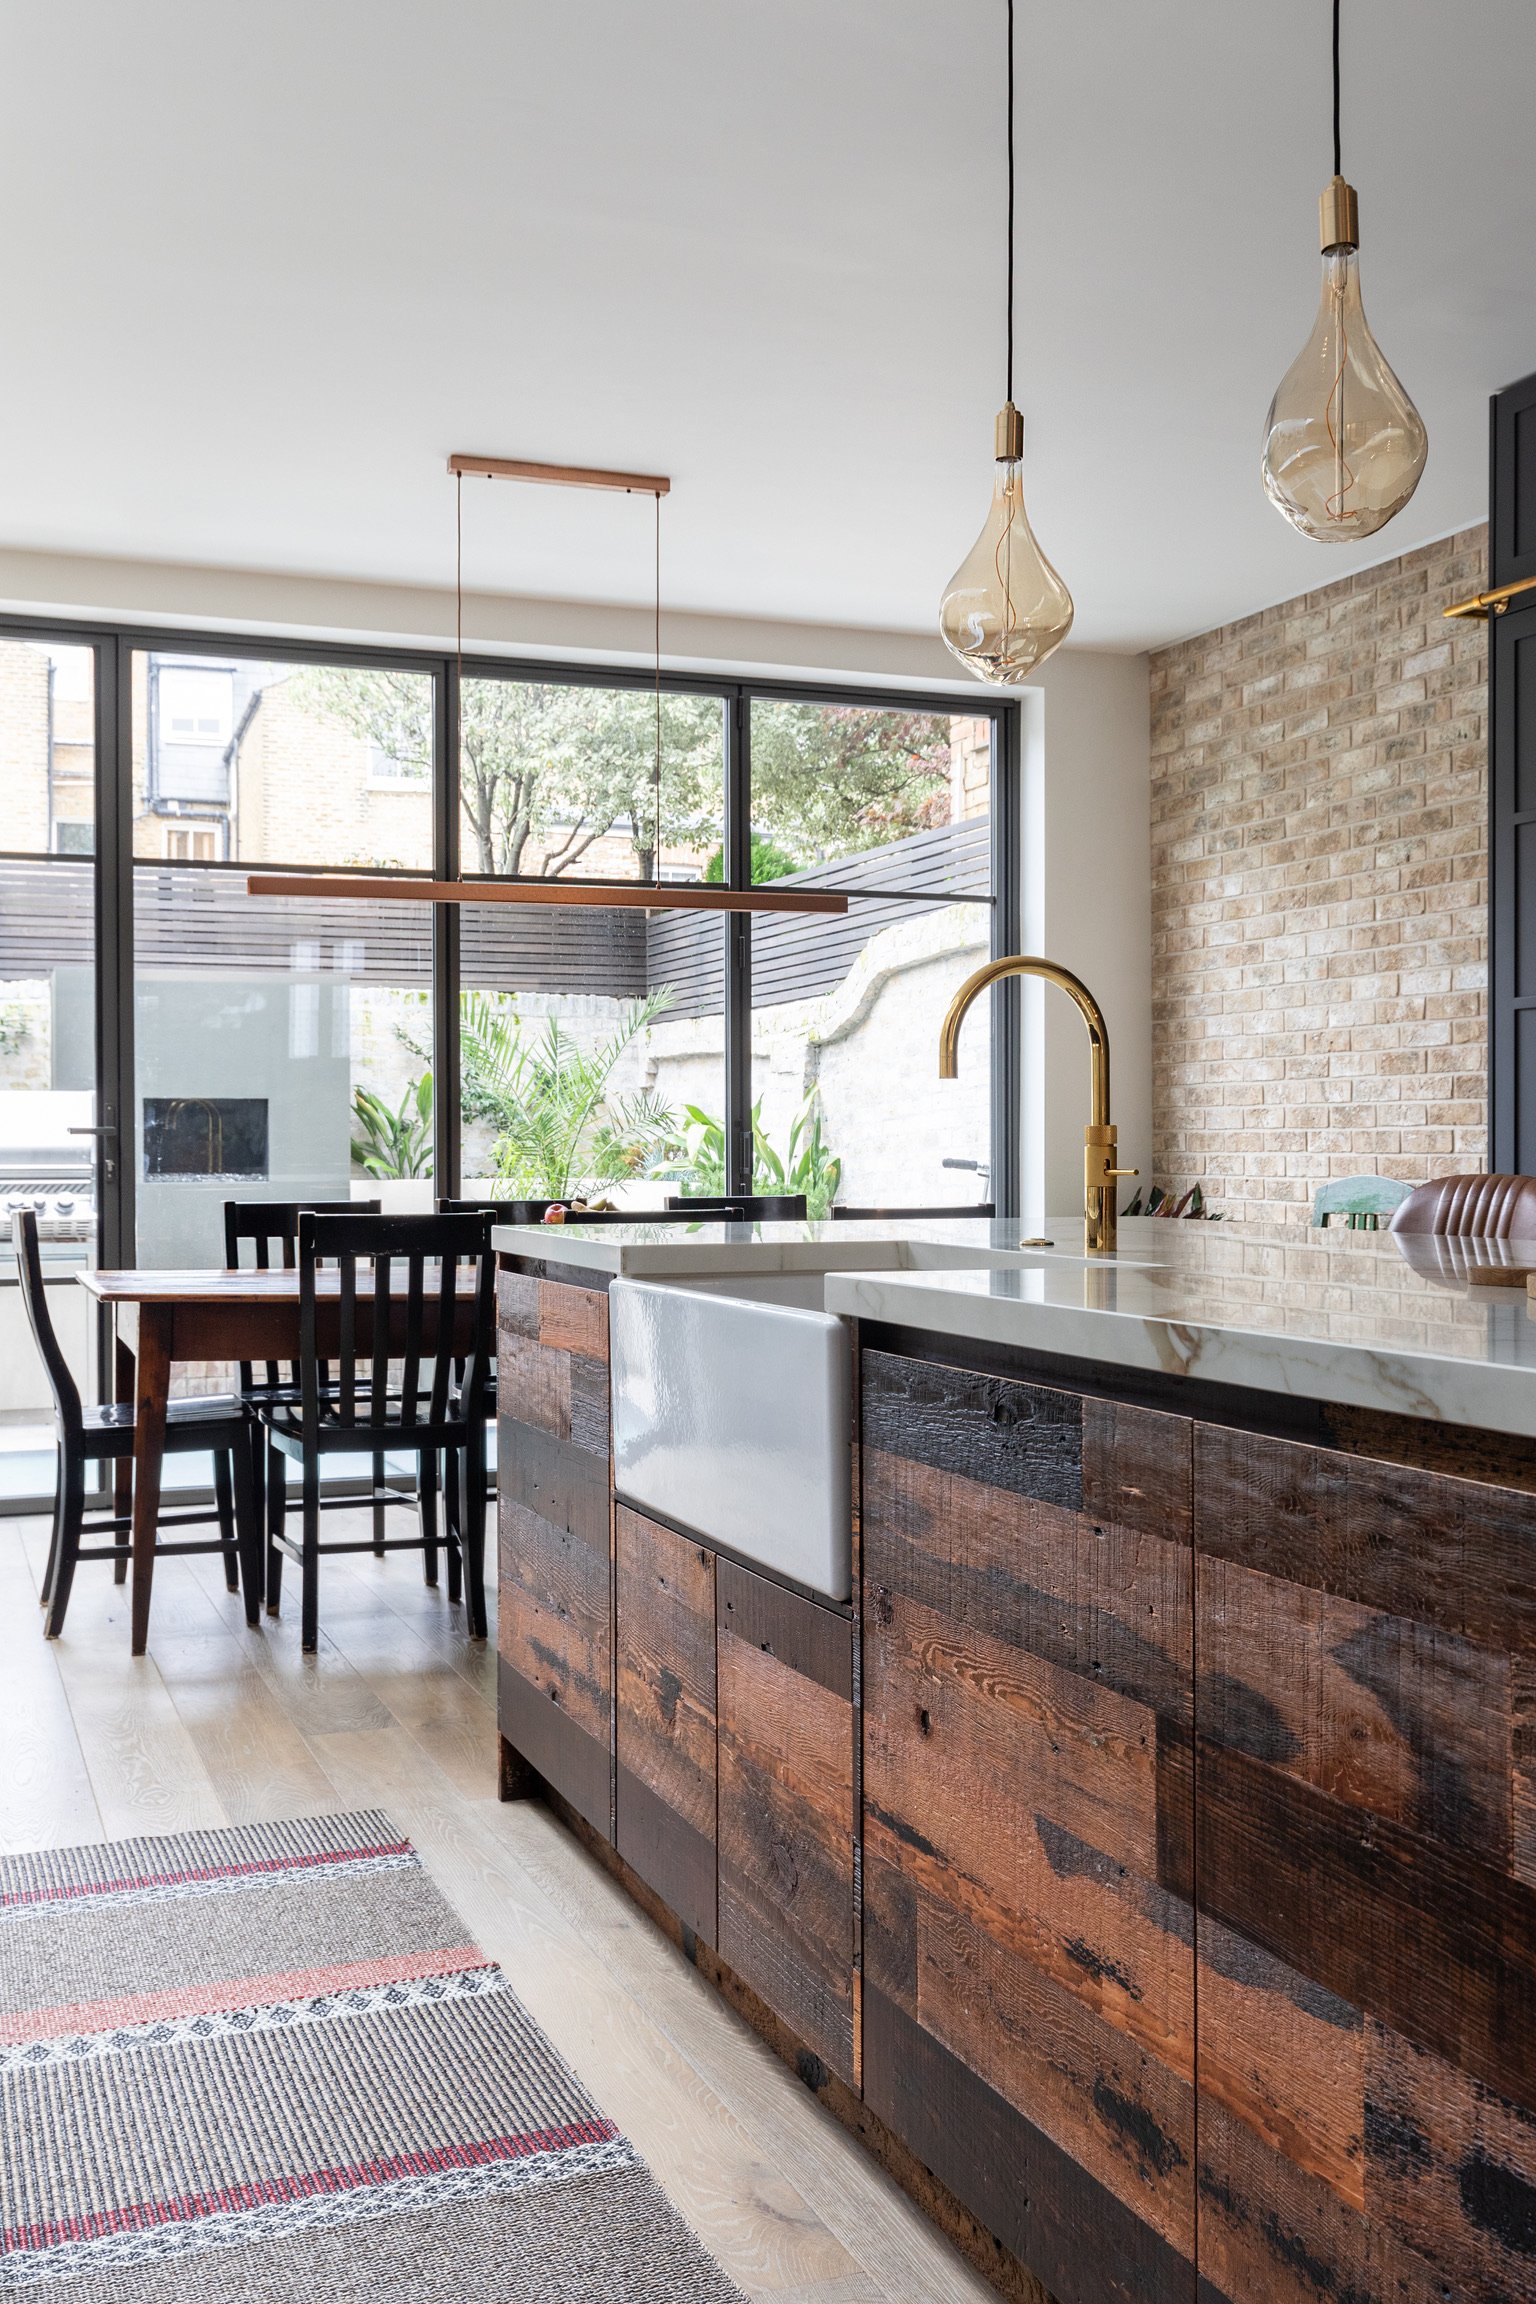
Lighting can change how colours and textures appear after dark. A timber surface may look different under a nearby lamp than in daylight, so review the chosen finishes in both conditions. Consider what each fitting should illuminate, such as a display shelf or textured panel, and keep its effect secondary to the wider scheme. Any visible fitting should sit comfortably within the elevation.
Material choices also affect details seen at close range. Exposed edges, corners and transitions between finishes contribute to the finished character. For instance, a veneer’s grain can continue across adjacent doors, or a contrasting edge can mark a deliberate change in material. Resolve these details before the cabinetry is made, so the intended pattern remains consistent across the fitted elements.
Choose one leading finish and use contrasts with intent.
Compare samples with the room’s existing colours and surfaces.
Align panel divisions with cabinet and shelf details.
Include lighting positions in the design drawings alongside the finish schedule. This gives the installation team a coordinated plan for fittings and cables, rather than leaving placement to the final stage. Check that each light supports the intended material effect without competing with the television or other features. A considered combination of surfaces, panel lines and illumination gives the media wall a consistent character from across the room and at close range.
Integrating TVs, Soundbars and Fireplaces
Resolve the television, soundbar and fireplace as one elevation rather than three separate features. The screen usually establishes the central axis, while the soundbar and fire affect the composition above and below it. Draw their positions together, then assess the full arrangement against the room’s proportions. This makes it easier to judge whether the elements feel balanced or one feature dominates.
Use the actual equipment selected for the room when developing recesses. Record each item’s dimensions, connection points and preferred orientation, then show them on the design drawing. A replacement television may have different proportions, so the surrounding design should not rely on an unnecessarily tight opening. The aim is to frame the chosen screen cleanly while keeping the joinery’s lines visually composed.
A soundbar can sit below the television, within a dedicated shelf or as part of a wider composition. Its position should follow the equipment design, not simply the available gap. Consider how the bar relates to the screen’s lower edge and the cabinet below. A deliberately aligned shelf can make the soundbar feel integrated; a poorly placed one can interrupt the elevation.
A fireplace introduces another focal point. Its relationship with the television depends on the wall’s overall layout, the selected appliance and the room’s architectural character. A three-sided fire, for example, presents a different arrangement from a linear fire. Set the recess around the chosen product and follow its manufacturer’s instructions for clearances, ventilation and electrical requirements. These requirements inform the joinery details and installation sequence.
Storage should support the technology without competing with the screen or flame. Consider whether a cabinet door would obscure a display or restrict access to a control. Shelves can create a visual transition between larger elements, while closed fronts preserve a more restrained elevation. Equipment concealed within the cabinetry needs a planned position that remains practical for operation and maintenance.
Lighting completes the composition, but its placement needs to account for the television’s reflective surface and the fire’s visual presence. A discreet light within a display niche can distinguish objects from the main elevation. Coordinate the lighting scheme with the controls and selected fittings, and show their positions on the drawings before manufacture.
Review the elevation from the usual seating position and the room entrance. These viewpoints reveal whether the television, soundbar and fireplace align as intended, and whether the joinery frames them without visual congestion. For an electric fire, the appliance manufacturer’s requirements remain central to the final detailing. Bringing the selected products and design information together early gives each feature a clear place in the finished media wall.
Integrated Storage and Cable Management
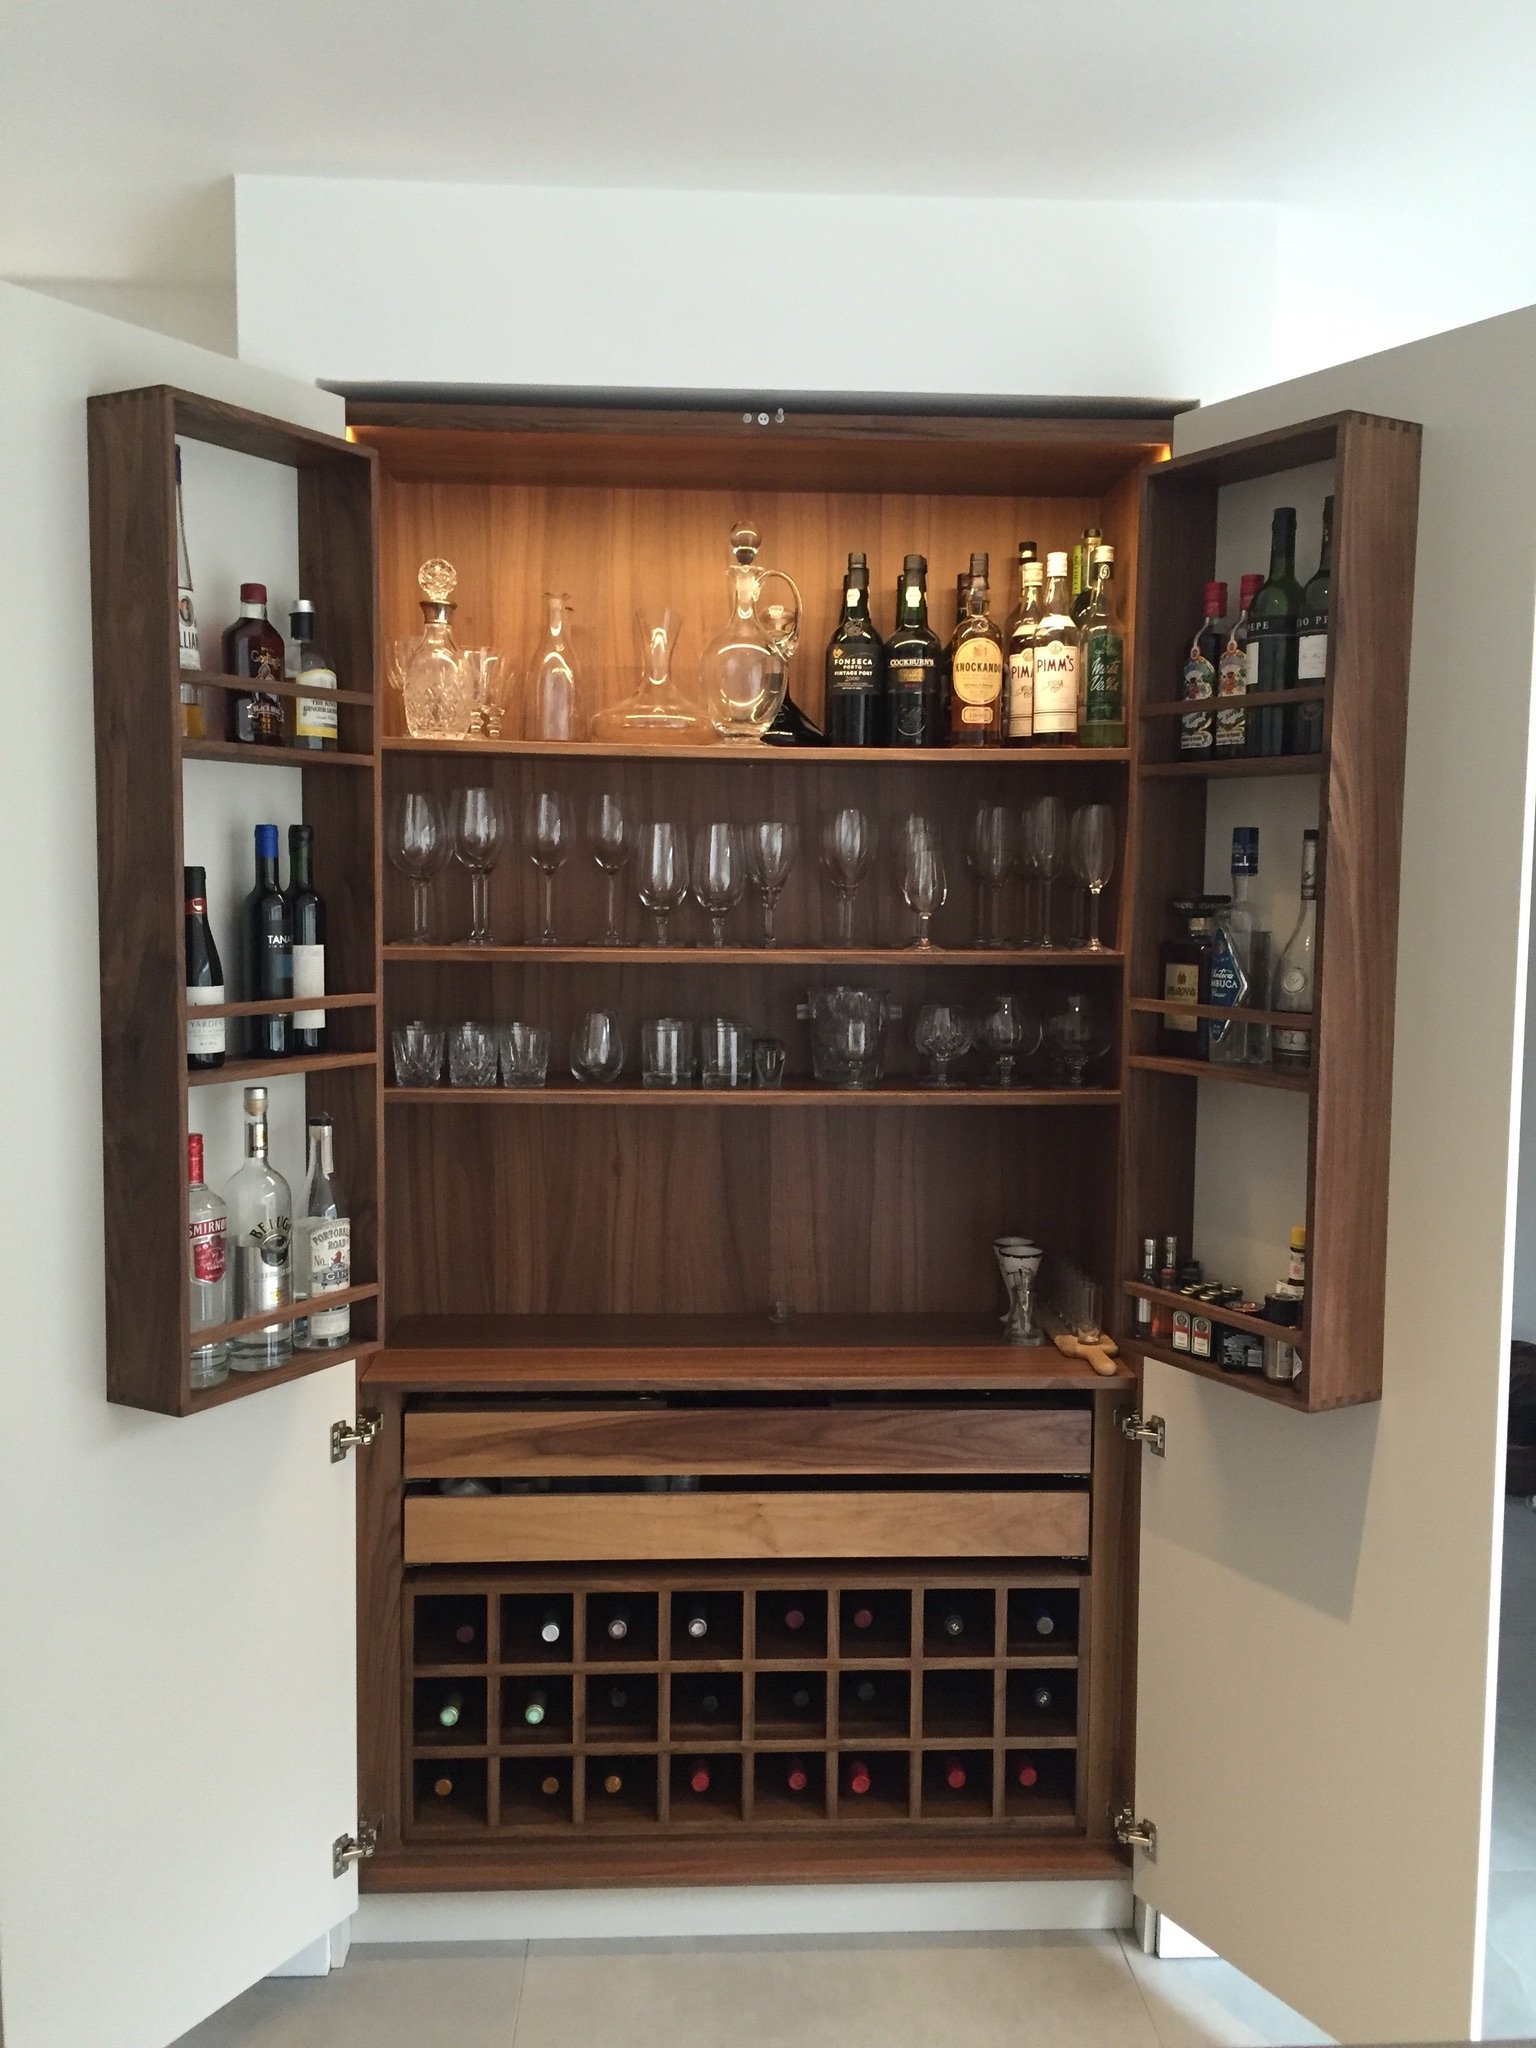
Living-room storage works best when each cabinet has a clear purpose. A closed cupboard can contain games, controllers and accessories, while open shelves keep books or chosen objects visible. Decide which items need regular access before setting the cabinet layout. This helps determine door positions, shelf divisions and the balance between display and concealed storage.
Equipment position should guide the internal arrangement. Place devices near their connections and allow doors or drawers to open without obstructing their use. If equipment sits behind a cabinet door, plan access to controls and adequate ventilation. Keep frequently used items within reach, while less-used accessories can go on a higher shelf or in a separate compartment.
Cable management starts with a coordinated route from each device to its power and signal connections. Keep cables behind the television and cabinetry where possible, with access points near the relevant equipment. A concealed route should remain reachable for maintenance or future changes. Avoid trapping leads behind fixed shelves or making a socket inaccessible once the cabinetry is fitted.
Group related equipment in one accessible section.
Keep regularly used items near the seating area.
Allow clear access to sockets, controls and cable routes.
Colour can make the storage feel like part of the room rather than a separate feature. Matching cabinet fronts to the wall creates a quieter effect; a contrasting finish can make the media wall a focal point. For example, warm timber cabinetry can sit against a painted wall, while a darker interior creates contrast on open shelves. Coordinate these tones with flooring, upholstery and nearby joinery.
Consider the living room as a whole. A long run of closed storage may balance a television above, while a shorter cabinet with open shelving leaves more wall visible. In either layout, align door divisions and shelf edges with the main composition. This precision keeps practical storage from interrupting the room’s lines.
A well-planned media wall brings equipment, everyday belongings and architectural detail into one considered arrangement. Its scope depends on the amount of concealed storage, the complexity of cable routes and how the cabinetry meets the room. These decisions shape the design and help ensure the technology remains usable without dominating the living space.
A bespoke media wall also needs room for its connections: a typical media wall needs five to seven cables, including power, HDMI, Ethernet and possibly aerial or audio leads. For enclosed equipment, when working with specialists like Neil Norton Design, consider ventilation, Wi-Fi reception, remote-control operation and socket access.
Bespoke Media Walls by Neil Norton Design
Neil Norton Design designs, manufactures and installs bespoke AV cabinets and media walls as one managed project. This suits you if the television, equipment, storage and finishes need to work as a single composition rather than separate additions to the room. Each design is made to measure, with cabinetry shaped around your interior and how you use it.
The process starts with the room and its requirements. Share the television and sound equipment you plan to use, how much living-room storage you need and the finishes already established in your scheme. These details help define the elevation, internal arrangement and material choices. Wall conditions, existing connections and integrated features also inform the design before manufacture begins.
Technical coordination is part of the design, not a detail left until installation. The plan can resolve equipment positions, accessible storage and routes for power and signal cables alongside the visible cabinetry. If your scheme includes an electric fire, its selected dimensions and installation instructions inform the recess. Lighting, panel divisions and cabinet fronts are considered together, keeping function and appearance aligned.
Neil Norton Design works with homeowners and interior designers. If you are working with an interior designer or architect, the studio can make and install their design, supporting their authorship and collaborating on the project. For homeowners, the managed project brings design, manufacture, delivery and installation together. Design takes place in Wimbledon, London; manufacture takes place at the studio’s own workshop on the west coast of Ireland, and the company’s own team installs its designs across the UK.
Material choices and technical precision guide the design. A painted finish, timber veneer or contrasting panel can each establish a different character; the right treatment depends on your room and intended scheme. The relationships between the screen, shelving, storage fronts and surrounding architecture are resolved as part of the whole. You can also discuss how the media wall should relate to other bespoke fitted furniture in your home.
For interior designers and architects, this approach provides a maker to design, manufacture and install bespoke media cabinetry in line with the project design. For homeowners, it offers a clear route from a defined brief to fitted work. The free design consultation is an opportunity to discuss your room and project requirements.
Contact Neil Norton Design to discuss a bespoke media wall for your home.
Frequently Asked Questions
Can you design around my existing TV and soundbar?
Yes. A bespoke design can be drawn around the television and soundbar you already own. Their make, model and dimensions help establish the screen opening, shelf positions and overall proportions. For example, a soundbar beneath the screen calls for a different arrangement from one built into a cabinet. Sharing the equipment details early helps the design accommodate your existing choices and coordinate their appearance with the surrounding cabinetry.
Can you hide cables, routers and games consoles?
Yes. Cabinetry can conceal equipment and cable runs while keeping access in mind. A games console, for example, needs a practical position for regular use, while a router’s location can affect its reception. The internal layout should distinguish equipment that needs frequent access from items you prefer out of sight. This keeps the room visually composed without making everyday technology awkward to reach or operate.
How long will design and installation take?
The schedule depends on design approval, material availability and the complexity of the work. Design, manufacture, delivery and installation each need a place in the project programme. A straightforward cabinet and a wall with several integrated features have different requirements. The agreed schedule should set out the sequence for your room, including design approval and when fitting can begin.
What affects the project scope?
The main influences are the media wall’s dimensions, the amount and form of cabinetry, and the chosen materials and finishes. An electric fire, bespoke panelling, lighting or additional storage can also affect the project scope. Installation requirements and any electrical or decorating work matter too. A clearly defined specification helps explain which elements the proposed work includes and how each design choice contributes.
What should I consider when planning a bespoke media unit in London?
A compact television cabinet has a different scope from a full-height media wall with extensive storage and integrated features. Room dimensions, existing conditions and the chosen specification all matter. A broad description may not reflect the design and work required for your particular home.
What should I consider when planning a bespoke media wall in South Kensington?
The answer depends on the room and agreed design. The quantity of cabinetry, finish choices, lighting and integrated features all shape the scope. The specification should explain what design, manufacture, delivery and installation cover, and whether associated electrical or decorating work is included. This makes the proposed work easier to understand.
What factors affect the design of a custom media unit?
For a custom media unit, consider its size, storage layout, door and shelf detailing, and finish specification. The equipment it must accommodate can affect internal divisions and access. Simple cabinetry differs from a design incorporating a fireplace recess, detailed panelling and lighting. The project scope matters too, particularly whether delivery, fitting and related work are included.
How do I choose materials for media units?
The quantity required, finish, visible edges and intended application all influence material choice and project scope. Oak veneer, for example, provides a timber surface, while solid wood may suit selected details. A material schedule can show where MDF, plywood, veneer or solid wood appears in the design, making the choices and their roles clear.
Comments